Easter Crafting with Cory
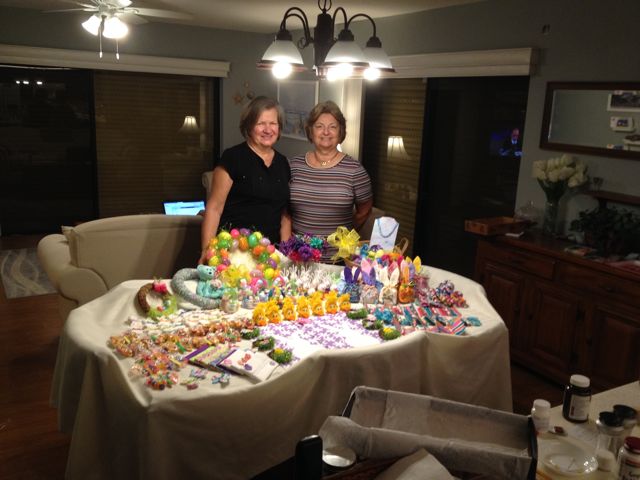
Taking advantage of Southwest’s discount on travel using points, I decided to fly down to Florida to visit with my bestie, Cory, in Cocoa Beach. This time we planned to craft day and night using an Easter theme. Needless to say, Pinterest ideas led the way!
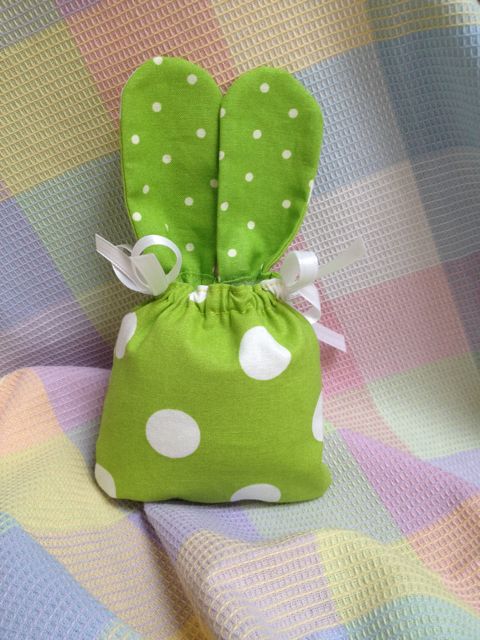
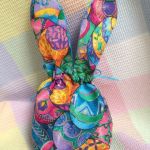
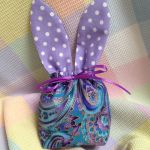
This was my first attempt at making a replica Easter treat bag from a photo I had seen. Cute, but there were a number of aspects to the design that I was not entirely happy with. I like pointy ears on bunnies, and I think they should tip to the sides. More importantly, the original bag wouldn’t stand on its own, so I added squared-off sides on the bottom. And the bow looked cuter in the front, not the sides. The following design emerged:
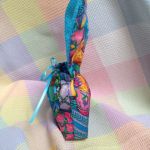
And so, many fabric scraps later, the bunnies reproduced, as they do!
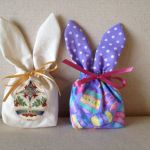

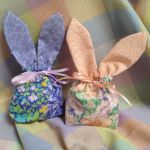
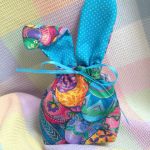
Color and pattern possibilities were endless! With help from my sister’s quilting remnant stash, so many different combinations came about! An appliqued egg on muslin made for a very classy bag that could be used for something shiny, not sweet! Before I left for Cory’s, I had cut out about 50 different bunnies, so that we could jump right into sewing them as soon as I arrived! We ended up making about 20 for her church’s spring sale, and a few for her grandchildren. We split up the remaining bunny sets to be completed on our own.
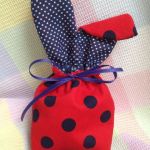
The last one, the red and navy bunny, may seem like an odd choice of colors, but my grandson, Torin’s, favorite color is red, so… red bunny!
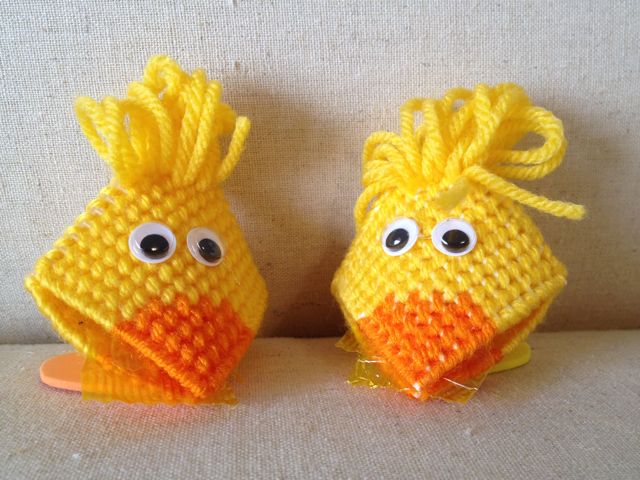
Cory had also done a lot of pre-crafting work: she is a pro at creating all kinds of adorable things from plastic canvas, and her little chick heads were priceless! All we had to add was googly eyes, and foamie hearts on the bottom to stand them up. By squeezing their cheeks, you can open their mouths! So we put a couple of butterscotch candies inside, leaving a little bit of cellophane sticking out – simply adorable!!!
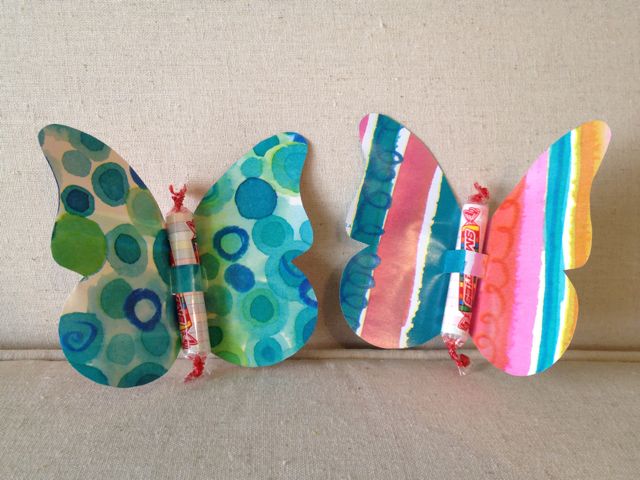
We wanted to make a few things that wouldn’t be time-intensive, and these paper butterflies fit the bill to a T. We cut a butterfly shape from a sturdy double-sided wrapping paper, snipped a couple of slits into the middle, and inserted a roll of Smarties to form its body. A little tape on the back kept the candy from sliding. Easy-peasy!
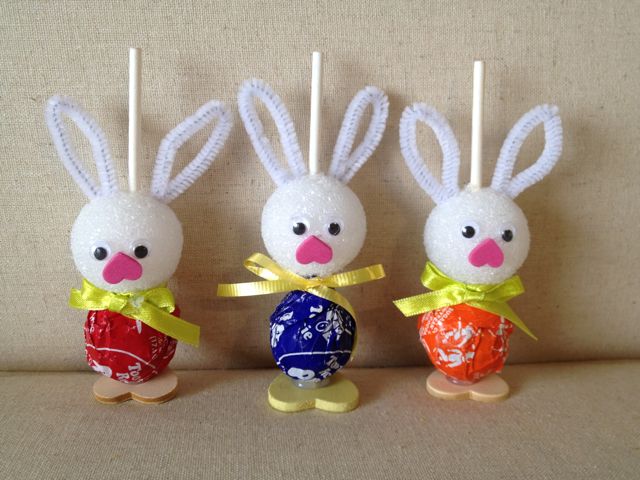
Another fast craft was a bunny made with a Tootsie Pop. The candy was glued onto a foamie heart (to look like feet, and to stabilize it), and a styrofoam ball was pushed onto the stick for a head. White pipe cleaners formed the ears, an upside down foamie heart made the nose, googly eyes were added, and a bow around the neck finished it off! Thank goodness for hot glue!
Another fairly easy craft was pencil toppers (I made a variation of this, making loops, not fringe.). I bought pretty, bright colored pencils at the dollar store. I had cut 3″ X 12″ strips of fabric ahead of time, and then we folded them over length-wise, and ran a gathering stitch along the cut side. Then we snipped along the folded edge, up to the stitching, about 1/4″ apart. We gathered the strips, and glued them onto the tops of the pencils, turning and gluing a spiral around the pencil. The glue did not want to stick to the eraser, so we broke off the erasers before gluing, making sure we put a BIG gob of glue on the very top, into the empty metal top. To finish off the bottom of the spiral, we glued a couple of inches of narrow ribbon around the gathered fabric where it meets the pencil top. The loops of fabric really do remind you of flower petals – pretty!

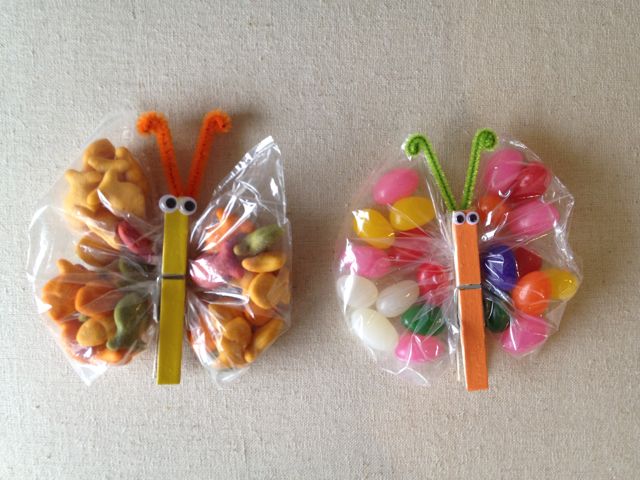
Something I had made before for Torin’s school snacks were snack butterflies. I painted some clothes pins some bright colors beforehand, so all that was left was to fill some snack bags with Goldfish or Jellybeans, make a couple pipe cleaner antennae and add googly eyes. We found that the snack bags were a bit too big, as my clothes pins were not full size. Cory has a Seal-a-Meal, so we filled the baggies to the amount we estimated to be good, and she ran the baggies under the Seal-a-Meal to the size we liked! I can’t provide the measurements, because we sealed them until we were satisfied. Then we just had to gather up the bags in the middle and pinch them into the clothes pin.
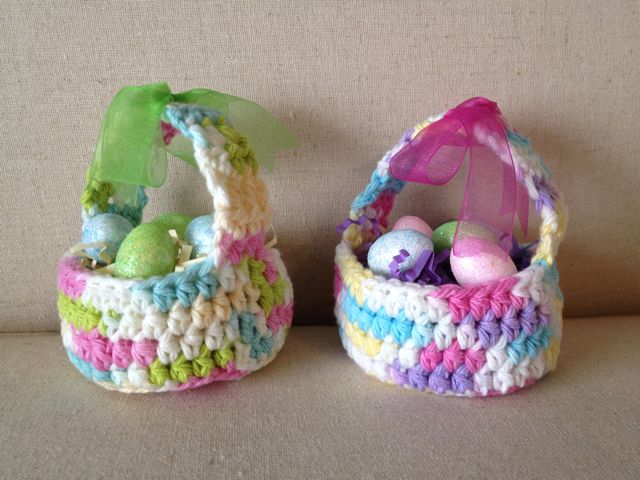
One other item I had made ahead of time was a little crochet Easter basket, using variegated cotton yarn. I picked up some tiny styrofoam eggs at the dollar store; we put a little Easter grass in the baskets, attached a few eggs to the grass with a dot of glue, and added a bright ribbon on the handle of the basket. Cute little decoration for Easter!
The only real break we took from crafting was spent rummaging at thrift stores – Cocoa Beach has a bazillion! We found all kinds of goodies to add to our craft stash (like we need more!!!!). One was a bunch of these little 3″ vine wreaths that we KNEW we’d use immediately. On Pinterest we had seen different wreaths wrapped with Fun Yarn, to look like grass. I had picked up some at a church rummage sale, again knowing that we’d need it! We used a variety of little Easter decorations to fill in the “grassy” parts of the wreaths.
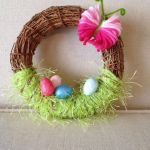
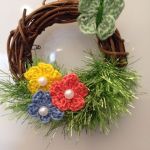
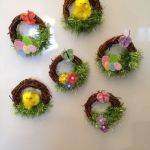
We used some of the tiny eggs that were used in the crochet baskets; they were perfect for a couple of wreaths. We added a super simple yarn butterfly at the top of those. Tiny crochet flowers and butterflies worked well on another couple. And Cory had two cute little fuzzy chicks to perch in the last two. We hot glued magnets to the back, knowing that craft sale customers are always attracted to anything they can put on their fridges!
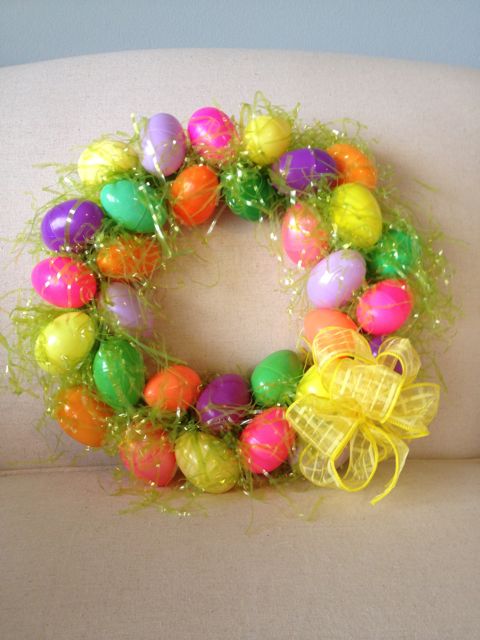
Speaking of wreaths, the most Easter-ish one was certainly the one made with plastic eggs. We had read on Pinterest that a styrofoam wreath can be sliced in half, which makes a nice flat back, making it rest against the door or wall nicely. It also gives you two wreaths! So we used one of these half-wreaths for our plastic eggs. We were concerned that the glue would not hold the eggs securely to the styrofoam, so we covered the wreath with strips of green fabric first, also making an appropriate background in case there were large spaces between eggs. From this point, it was a pretty simple process. We scraped together all the eggs we had collected over the years, and started hot gluing them to the wreath. Having the wreath sliced in half made it more economical as well, since the eggs didn’t have to cover so much area. After all the eggs were on, we started grabbing strips of cellophane Easter grass, folding them over, putting a dab of hot glue on the fold, and jabbing them into the spaces between eggs. A big, bright yellow bow completed the finished product.
While we were thift shopping, we came across some brand new TY Beanie Baby teddy bears in spring colors; we grabbed up a bunch. Cory had a pretty spring print fabric, from which she made a tube. She generously shirred the tube of fabric onto a (full) styrofoam wreath (similar to this idea, only on a styrofoam wreath), and then we seated one of the pastel teddy bears into the center of the wreath and placed a tiny bouquet of flowers in one hand. Sadly, I forgot to take a picture of the wreath that they were perfect in, but it was absolutely precious!!! If you zoom in on the final photo, you can see the turquoise wreath in the back left side of the display.
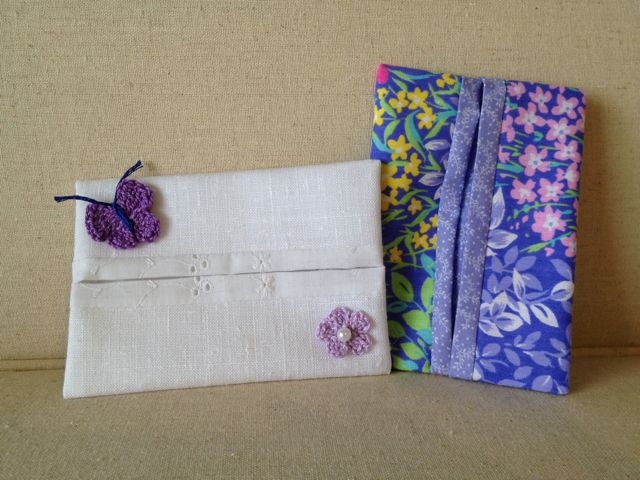
Another quickie craft that we made before Christmas worked equally well for Spring: pocket tissue holders. This is such a fast sewing craft – like 7 minutes total! This time we added some of those tiny crochet flowers and butterflies, or used pastel spring fabrics.
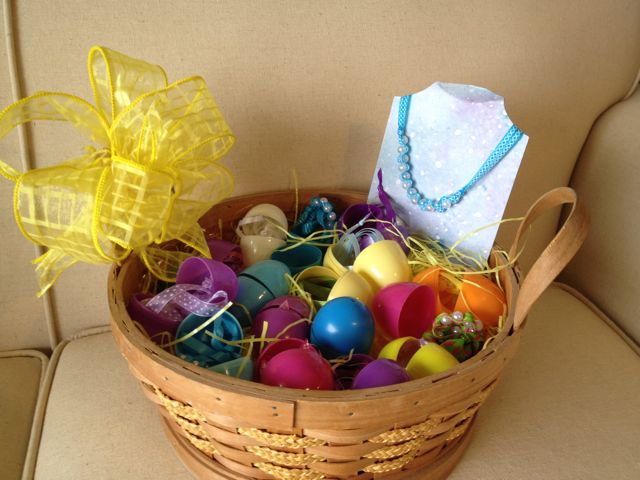
We were thinking of children when we planned items to donate to the church sale, and Cory came up with the idea of putting my ribbon and pearl necklaces into the plastic eggs. Putting them into hinged eggs, and then placing the eggs in a basket made for a nice display. Cory plans to come up with a small toy for boys to put in another basket – maybe balloon hacky-sacks?
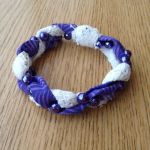
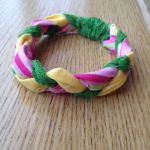
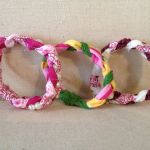
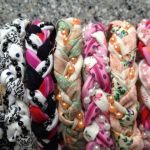
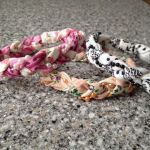
I’m not sure how they’ll be displayed, but we also included some braided fabric bracelets. These are a nice evening project – 1 1/2″ X 12″ strips of fabric are braided with trims, lace, pearls, shiny cord, anything girly. A small piece of any of the fabrics connect the ends, about 8″ around. There are so many examples of these on Pinterest – each is cuter than the last. They are a terrific way to use up quilting scraps and trims.
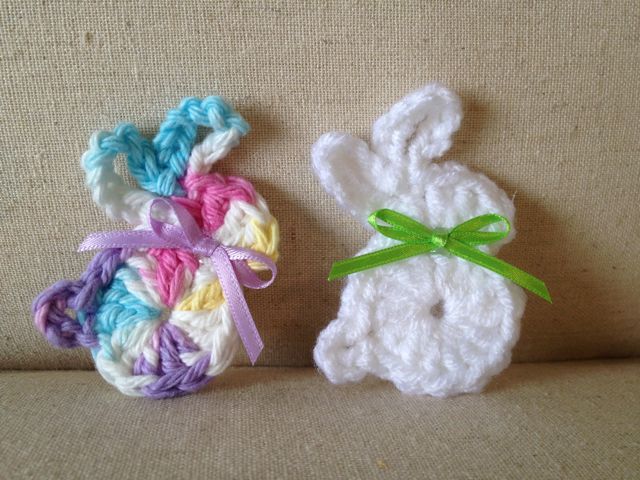
I tend to be an early riser, so I had some time in the mornings to crochet a bunch of bunnies. We made many of them into pins by gluing on purchased bar pins on the back, and others magnets glued to the back. We really like the ones with just bows at the neck; others like googly eyes and pom pom tails.
It’s hard to believe how much Cory and I completed over only four days! We filled her dining room table to overflow! I can’t wait to hear how well the items sell at her church’s sale!